 Hatha Yoga
Warrior's Path: a breath-led warrior flow
Warrior strength across three body levels: the warrior is one step, not the whole round
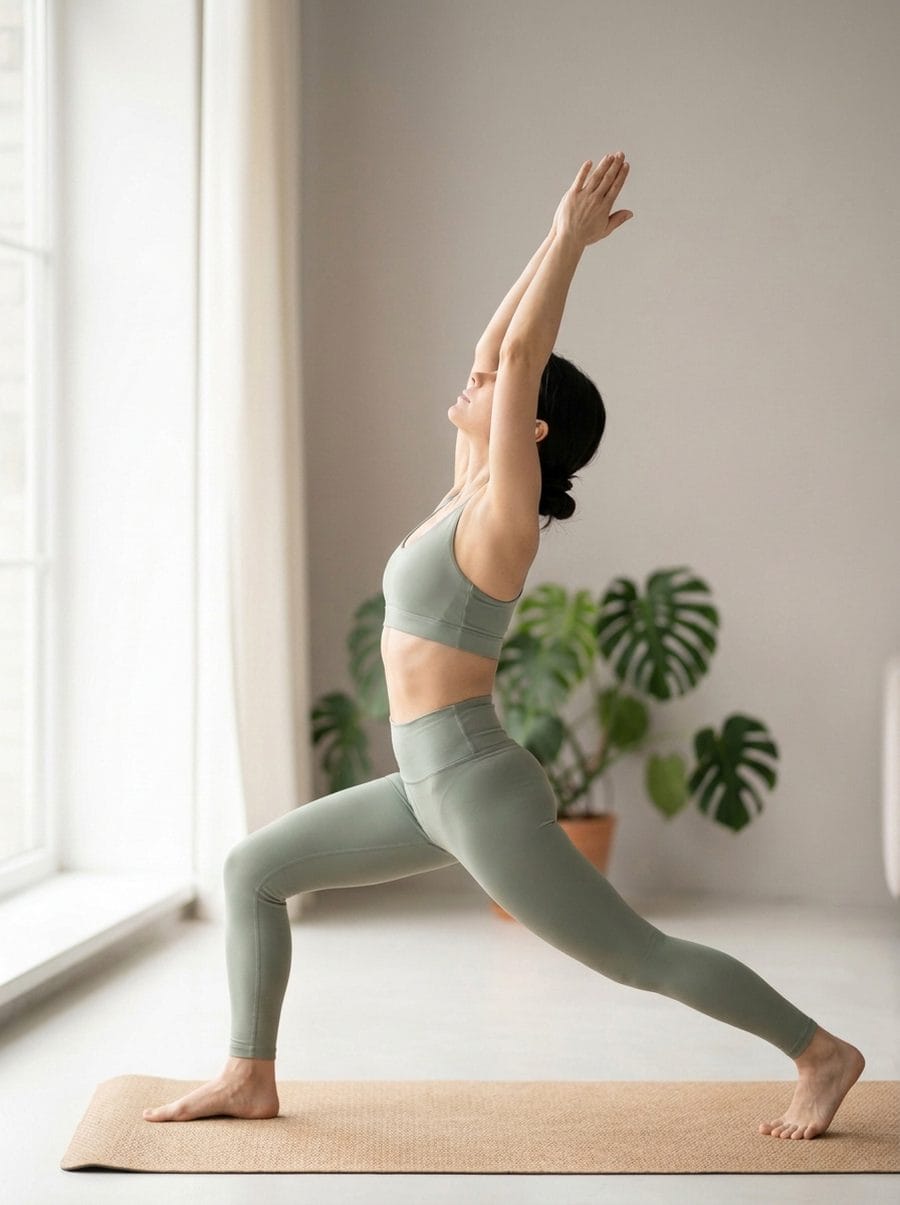
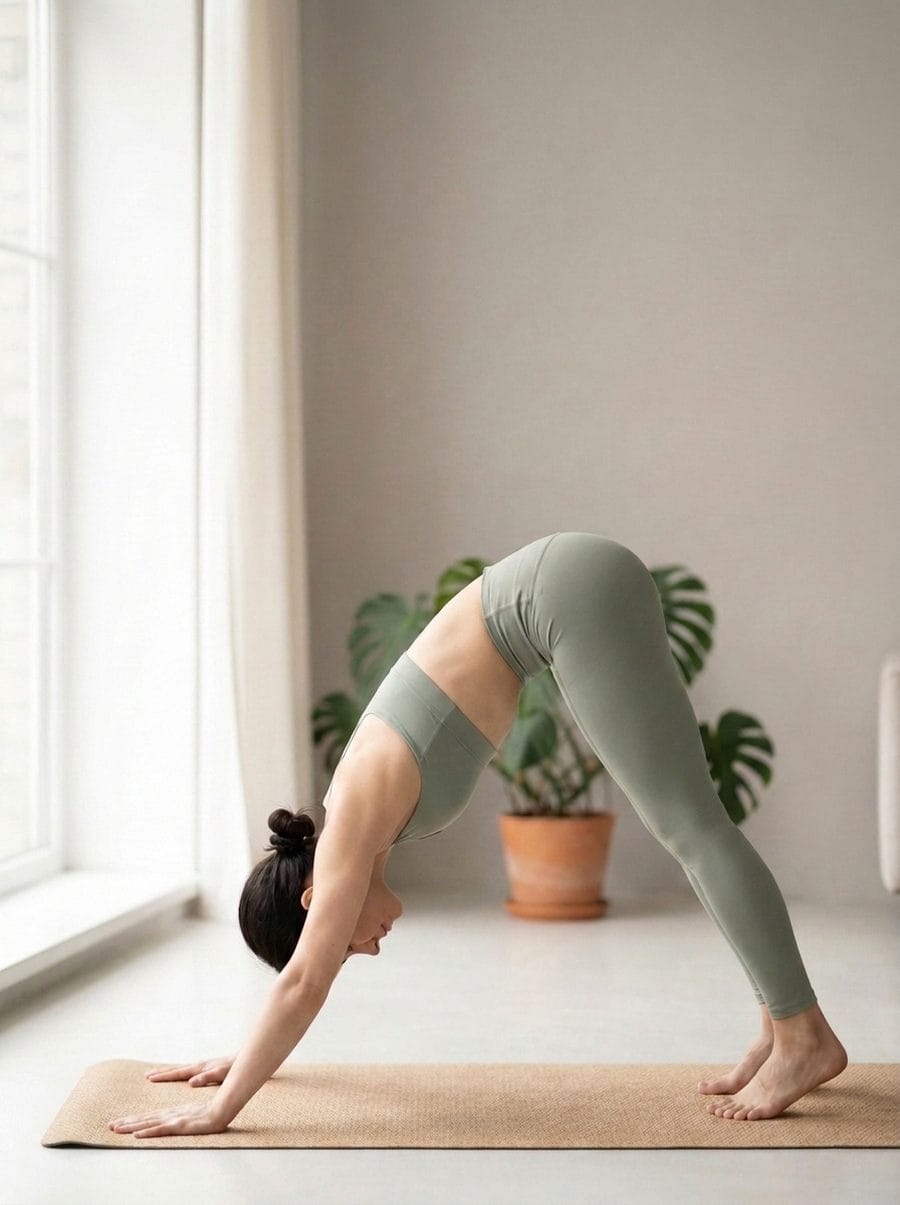
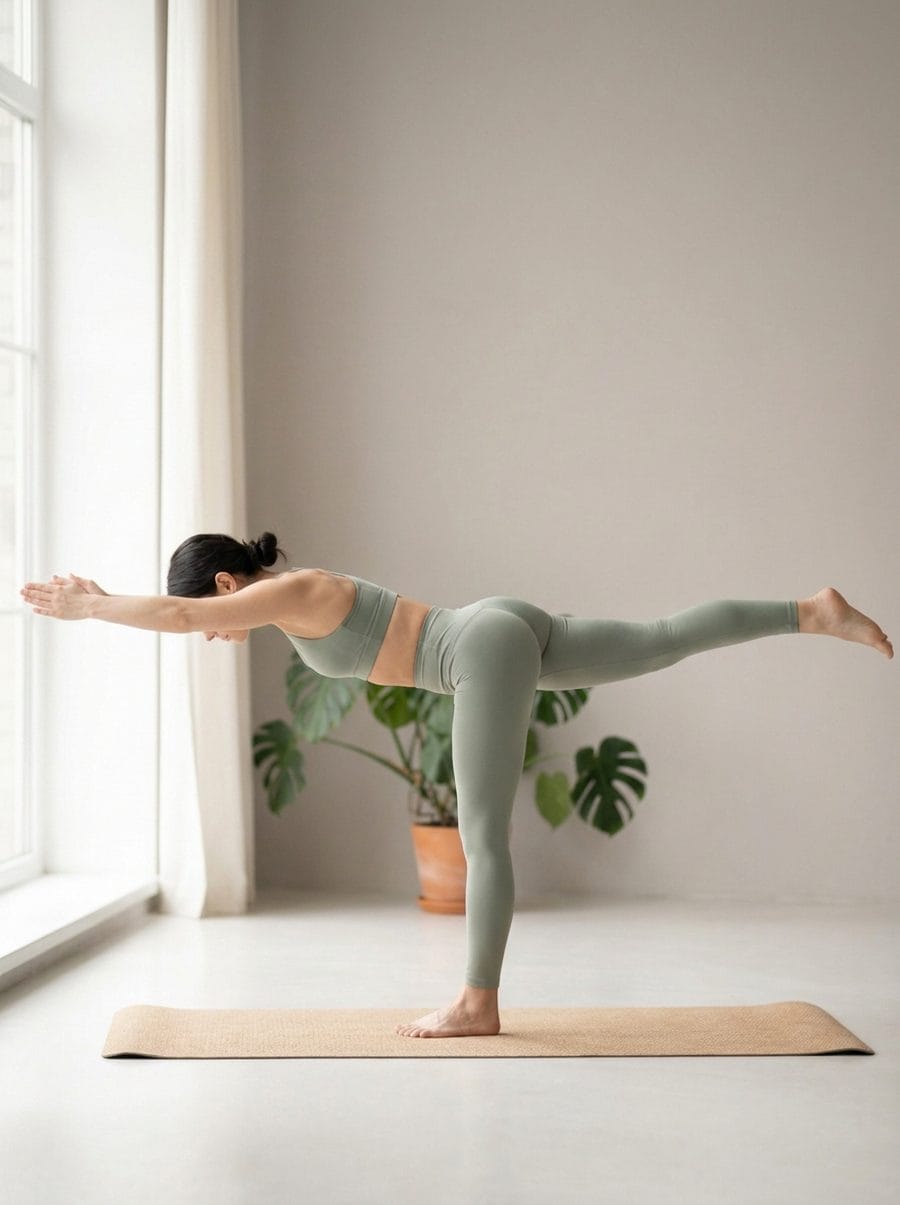
A flow for leg and back strength in which the warriors serve as separate stations rather than filling the whole round. It includes Warrior I, Warrior III and Side Angle Pose, with Downward-Facing Dog and Locust in between. The level is intermediate.
Deep lunges and a belly-down pose make it unsuitable for pregnancy. If your balance lets you down, do Warrior III at a wall or with your palms on the floor, and in every lunge keep your front knee over your heel.
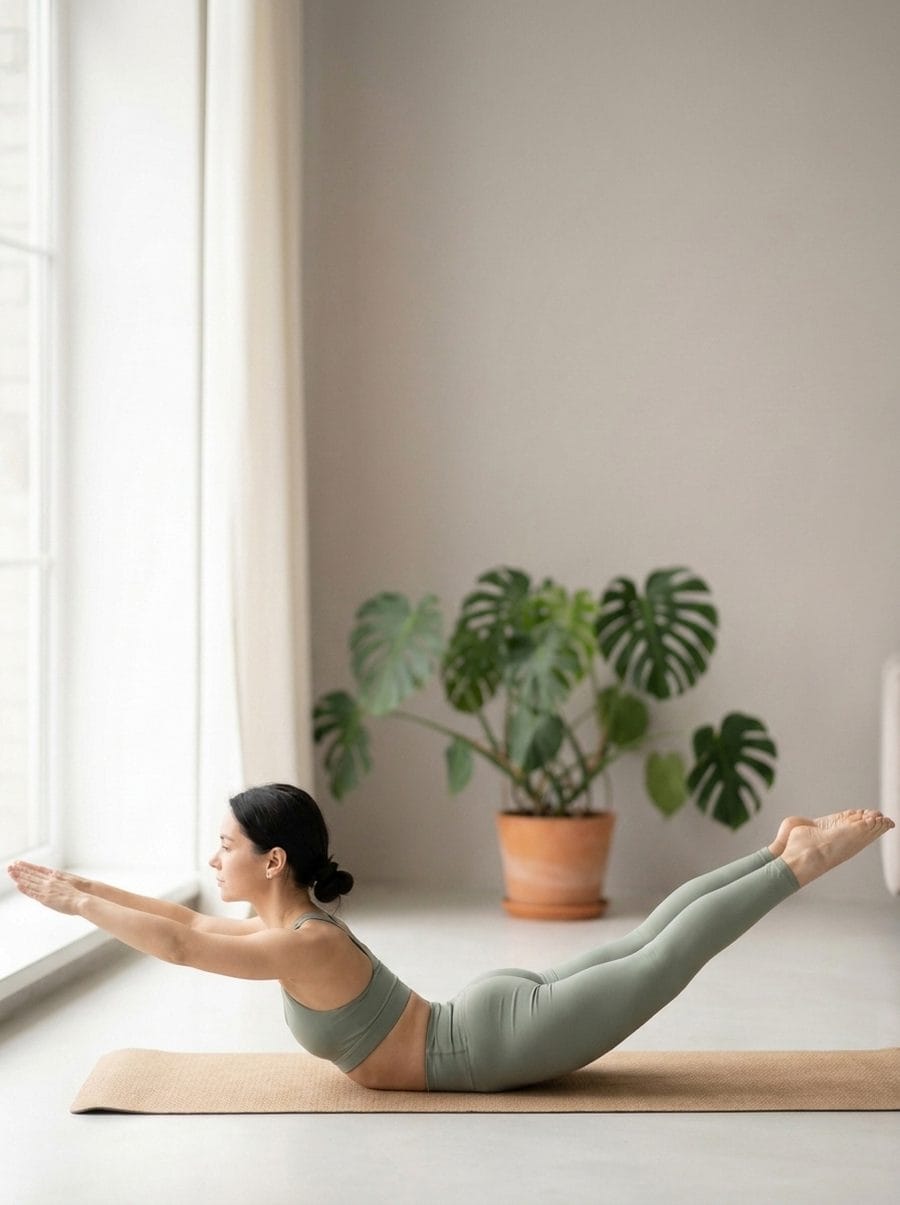
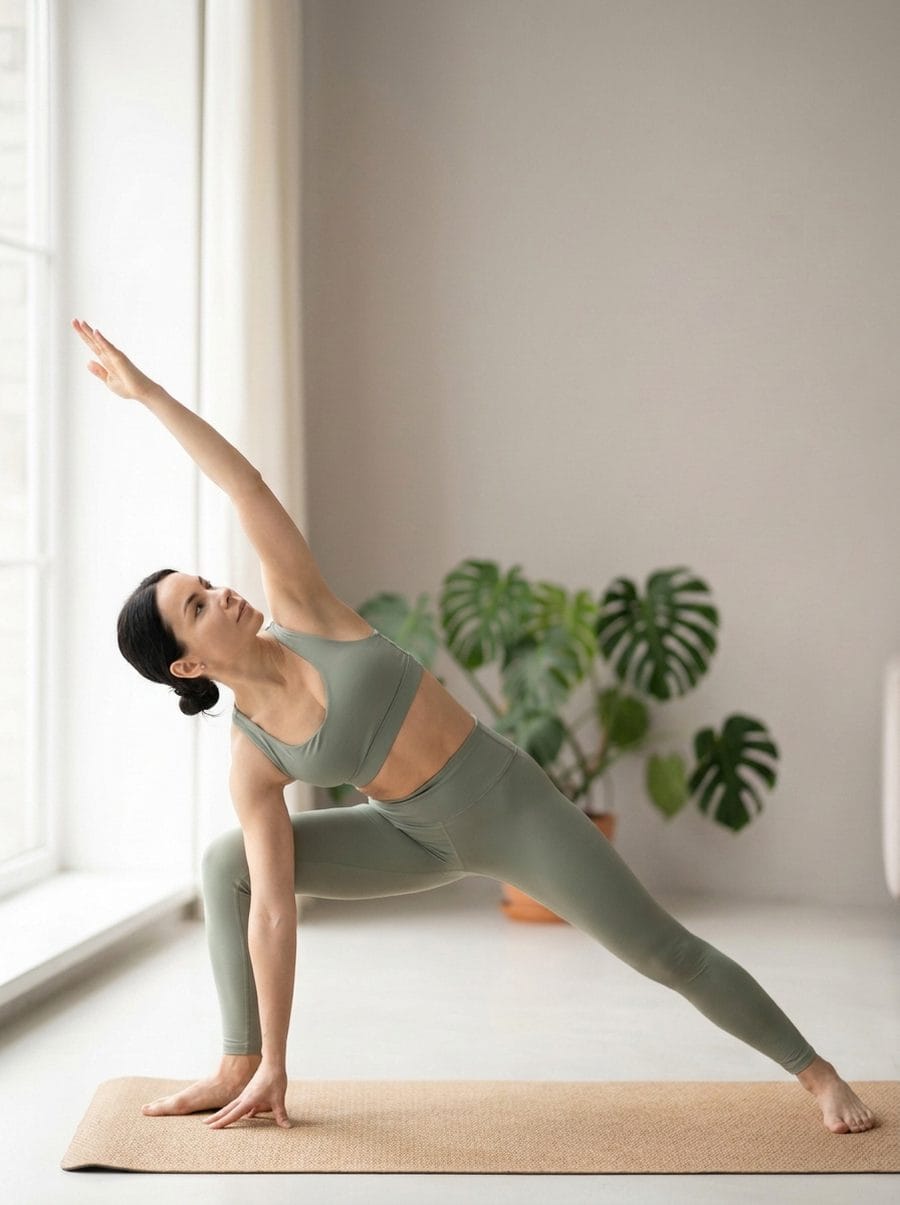
Why this order
All three warrior-family poses are one-sided, both sides are covered within one round, and each transition takes two breaths. From Warrior I you place your palms and move into Downward-Facing Dog, resting from the lunge. Then you step forward again and rise into Warrior III, where your legs and back hold your body horizontal.
Locust on your belly strengthens the back of the body, and Side Angle lengthens your side and opens the hips. If your wrists are sore, come up from your belly through all fours.
Cautions
- Knee injuries (Warrior I, Side Angle Pose)
- High blood pressure — you can keep your hands on your hips (Warrior I)
- Wrist and shoulder injuries (Downward-Facing Dog)
- High blood pressure — don't stay in the pose long (Downward-Facing Dog)
- Glaucoma (Downward-Facing Dog)
- High blood pressure (Warrior III, Locust Pose)
- Balance problems — use a support (Warrior III)
- Lumbar disc herniation (Locust Pose)
- Pregnancy (Locust Pose)
This site is for general information and is not medical advice. If you have pain, an injury, a chronic condition, or are pregnant, check with a qualified professional before practicing.